Without FormAttachment objects : FormLayout « SWT « Java Tutorial


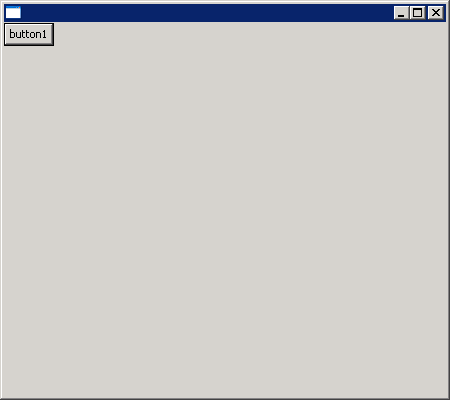
Without FormAttachment objects, the control will be attached to the top-left edges of the parent composite by default.

Button will stack.

Without FormAttachment objects
import org.eclipse.swt.SWT;
import org.eclipse.swt.layout.FormLayout;
import org.eclipse.swt.widgets.Button;
import org.eclipse.swt.widgets.Display;
import org.eclipse.swt.widgets.Shell;

public class FormLayoutFormAttachment {
  public static void main(String[] args) {
    Display display = new Display();
    final Shell shell = new Shell(display);

    shell.setLayout(new FormLayout());

    Button button1 = new Button(shell, SWT.PUSH);
    button1.setText("button1");

    Button button2 = new Button(shell, SWT.PUSH);
    button2.setText("button2");

    shell.setSize(450, 400);
    shell.open();

    while (!shell.isDisposed()) {
      if (!display.readAndDispatch()) {
        display.sleep();
      }
    }
    display.dispose();
  }
}


17.94.FormLayout
17.94.1.Using FormLayouts
17.94.2.FormLayout: attach with left and right margin
17.94.3.FormLayout: attach each otherFormLayout: attach each other
17.94.4.FormData Objects and FormAttachment ObjectsFormData Objects and FormAttachment Objects
17.94.5.FormData: width and heightFormData: width and height
17.94.6.FormLayout: spacing
17.94.7.To configure the attachment of each side
17.94.8.Attaching a Control to a Position in the Parent CompositeAttaching a Control to a Position in the Parent Composite
17.94.9.Specify the offset of the control side from the attachment positionSpecify the offset of the control side from the attachment position
17.94.10.Without FormAttachment objectsWithout FormAttachment objects
17.94.11.Specify attachments for all four sides of a control.Specify attachments for all four sides of a control.
17.94.12.Attaching a Control to Another Control
17.94.13.Attaching to the Adjacent Side of Another ControlAttaching to the Adjacent Side of Another Control
17.94.14.Attaching to the Specified Side of Another ControlAttaching to the Specified Side of Another Control
17.94.15.Center a control on another controlCenter a control on another control
17.94.16.Center control both horizontally and verticallyCenter control both horizontally and vertically
17.94.17.Use FormLayout to layout a dialogUse FormLayout to layout a dialog
17.94.18.Start with the upper-left button, attach the top and left edges to the window, offsetting by five pixels:Start with the upper-left button, attach the top and left edges to the window,  offsetting by five pixels:
17.94.19.To create the upper-right three buttons, you reason that you can put them all in a composite with a grid layout, and attach the composite to your first button:To create the upper-right three buttons, you reason that you can put them all in a composite with a grid layout, and attach the composite to your first button:
17.94.20.Attach the bottom button to the upper-left button and the window:Attach the bottom button to the upper-left button and the window:
17.94.21.FormLayout ComplexFormLayout Complex
17.94.22.FormLayout example snippet: create a simple dialog using form layoutFormLayout example snippet: create a simple dialog using form layout
17.94.23.FormLayout example snippet: center a label and single line text using a form layoutFormLayout example snippet: center a label and single line text using a form layout
17.94.24.FormLayout example snippet: create a simple OK/CANCEL dialog using form layoutFormLayout example snippet: create a simple OK/CANCEL dialog using form layout