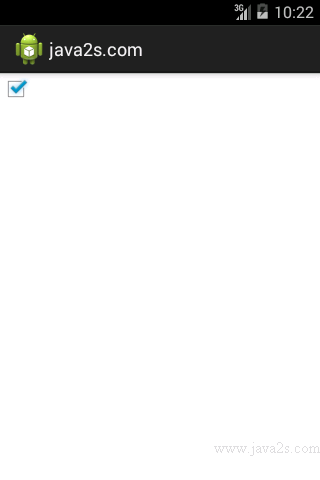
Android UI How to - Set up click handler in XML for CheckBox
We can use xml attribute to specify click event handler for a CheckBox.
The following code shows the XML for a Button where you specify an attribute for the handler, plus the Java code that is the click handler.
<CheckBox   ...
          android:onClick="myClickHandler"
          ...  />
Java code to handle the click event.
public void myClickHandler(View target) {
    switch(target.getId()) {
       case R.id.button1:
       ...
The handler method will be called with target set to the View object representing the button that was clicked.
The switch statement in the click handler method uses the resource IDs of the buttons to select the logic to run.
In this way you won't have to explicitly create each Button object in your code, and you can reuse the same method across multiple buttons.
Example
<?xml version="1.0" encoding="utf-8"?>
<LinearLayout xmlns:android="http://schemas.android.com/apk/res/android"
    android:layout_width="fill_parent"
    android:layout_height="fill_parent"
    android:orientation="vertical" >
/* ww  w. j  ava 2s. c  o  m*/
    <CheckBox android:id="@+id/imageButton2"
        android:layout_width="wrap_content"
        android:layout_height="wrap_content"
        android:onClick="myClickHandler"
        />
</LinearLayout>
Java code
package com.java2s.app;
/* w w  w . ja v a2  s  . c o  m*/
import android.app.Activity;
import android.os.Bundle;
import android.util.Log;
import android.view.View;

public class MainActivity extends Activity {

    @Override
    public void onCreate(Bundle savedInstanceState) {
        super.onCreate(savedInstanceState);
        setContentView(R.layout.activity_main);

    }
    public void myClickHandler(View view) {
        if(view.getId() == R.id.imageButton2) {
            Log.v("CheckBoxActivity", "The steak checkbox is now ");
        }
    }
}
