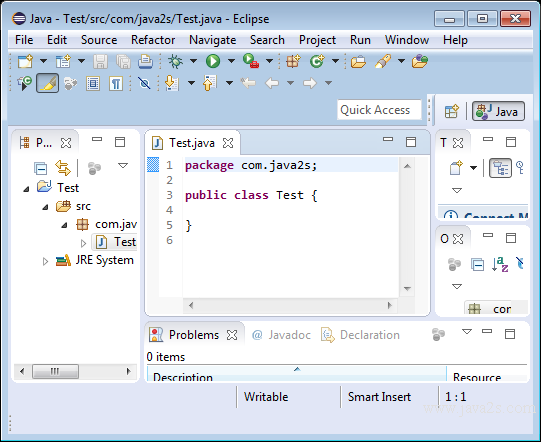
JavaFX Tutorial - JavaFX Environment Setup
To get started with JavaFX 8, we need to set up our development environment to compile and run JavaFX examples.
In the following we will learn how to install the required software, such as the Java development kit (JDK).
After installing the required software, we will create a JavaFX "Hello World" example.
Install Java Development Kit (JDK)
The following steps shows how to download and install Java Development Kit (JDK).
Get JDK from the following URL:
http://www.oracle.com/technetwork/java/javase/downloads/index.html
From the page download JDK for your own operating system.
Install the Java 8 JDK. Launch the binary executable. That's a security warning you'll commonly receive on the Windows platform.
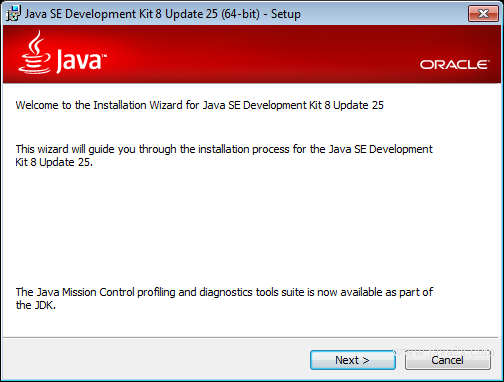
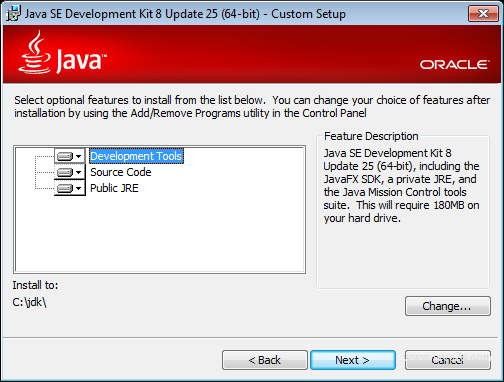
Choose JDK Install Directory
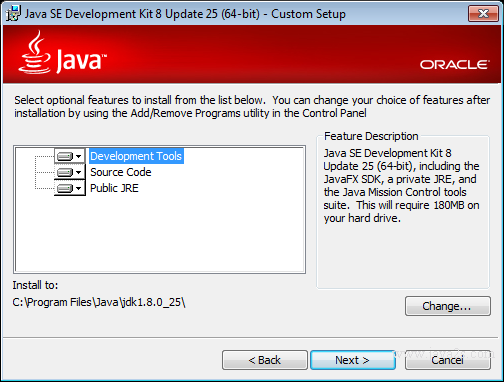
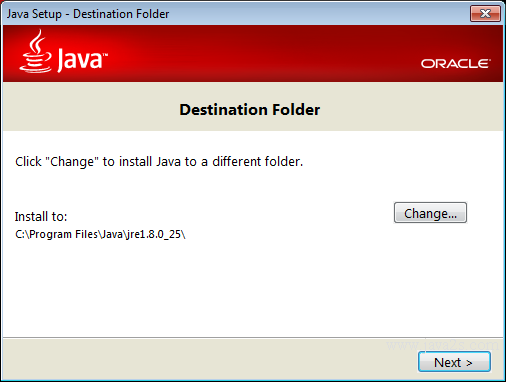
Change the JDK Install Directory
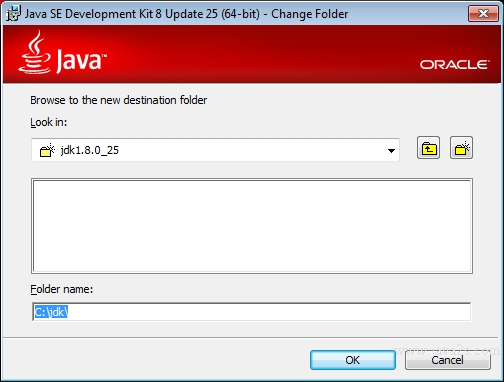
The install folder changed.
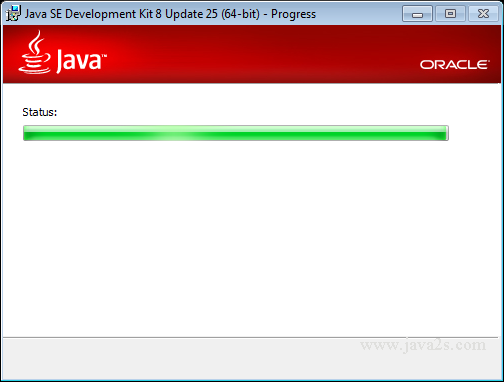
Progress Bar for copying files
Install JRE
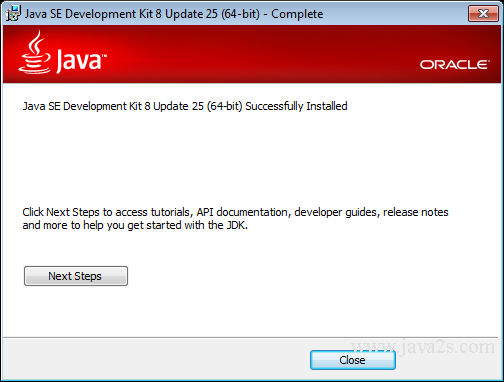
Finish installing
Setting Environment Variables
The two variables to set are:
- JAVA_HOME: sets the Java installation directory.
- PATH: sets the Java executable directory.
Java executables reside in the bin directory under the JAVA_HOME home directory.
Following are the variables to set in Windows:
set JAVA_HOME="C:\jdk1.8.0" set PATH=%JAVA_HOME%\bin;%PATH%
The JAVA_HOME value is the one we choose when installing JDK.
On Unix-based platforms such as Mac OS X and Linux, settings depend upon which shell you are using.
The following examples show how to set the needed variables for the Bash and Bourne shells:
#  bash, bourne  shell  environments
export JAVA_HOME=/usr/java/jdk1.8.0
export PATH=$PATH:$JAVA_HOME/bin
The following examples show how to set the needed variables for the CSH shells:
#csh  environments
setenv JAVA_HOME  /usr/java/jdk1.8.0
setenv PATH ${JAVA_HOME}/bin:${PATH}
These statements will set environment variables for the current terminal window session.
To make JAVA_HOME and PATH permanent, add them to system logon such that they are always available when you boot or login.
In the Windows environment we can use the keyboard
shortcut Windows logo key + Pause/Break key, and then
click the Advanced system settings to display the Systems Property dialog.
Next, click Environment Variables. Then add or edit the JAVA_HOME environment variable by using the installed home directory as the value.
To set your JAVA_HOME for the Mac OS X platform,
launch a terminal window to edit home directory's .bash_profile file
(named ~/.bash_profile) by adding the export commands shown earlier.
On Linux than uses Bash shell environments launch a terminal window and edit either the ~/.bashrc or ~/.profile file to contain the export commands.
On Linux that uses C shell (csh) environments, launch a terminal window and edit either the ~/.cshrc or ~/.login file to contain the setenv commands.
Once set up path and JAVA_HOME environment variables, to verify by launching a terminal window and executing the following two commands from the command prompt:
java -version
or
javac -version
Installing the Eclipse IDE
Download Eclipse from the following URL:
https://Eclipse.org
Install Eclipse by launching the binary executable.
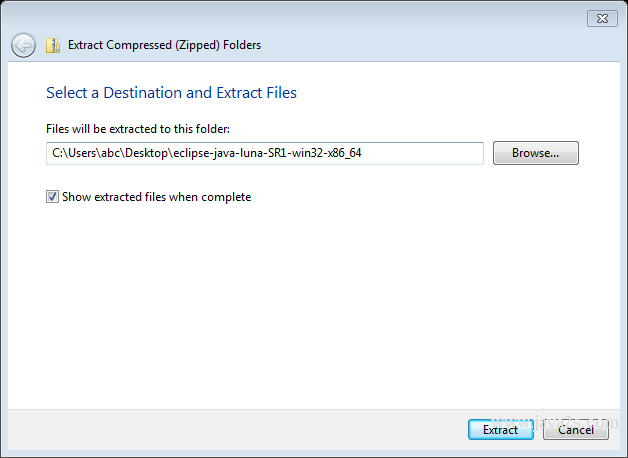
Extract Progress
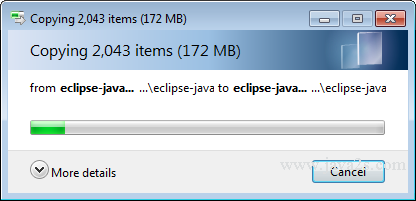
Unzip Folder
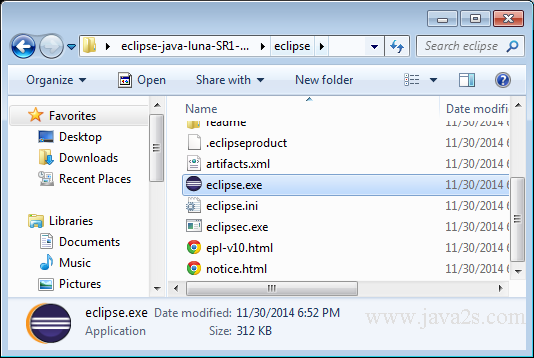
Exe Run Warning
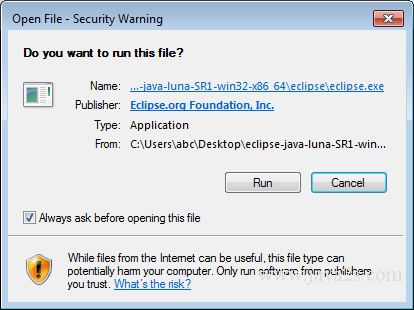
Splash screen

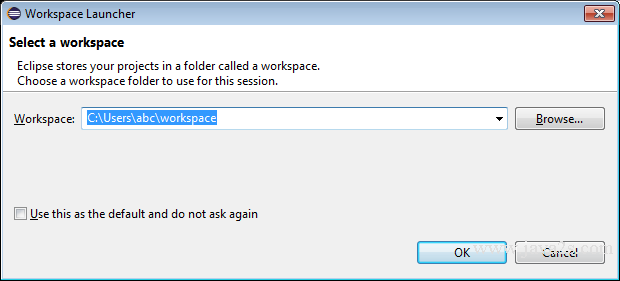
Select Workspace
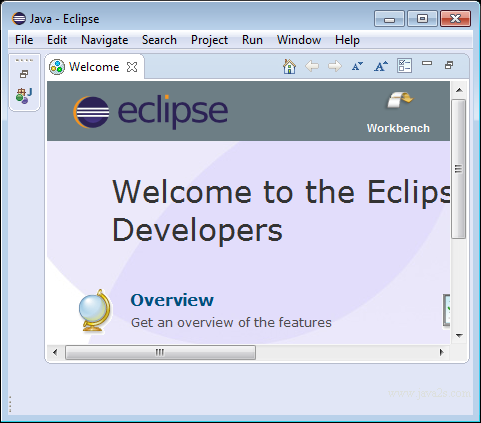
Eclipse Window
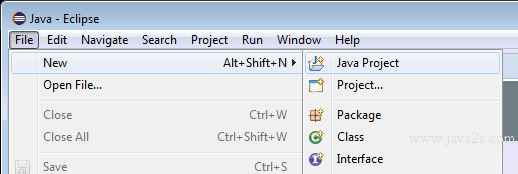
New Java Project
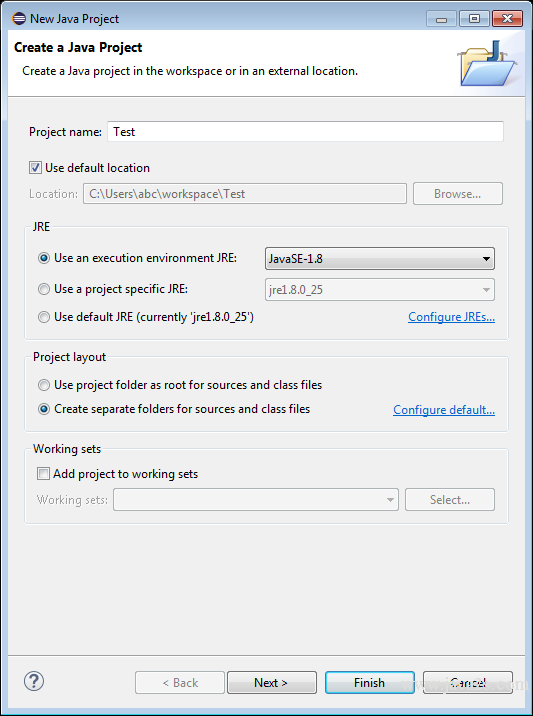
JavaProject Dialog
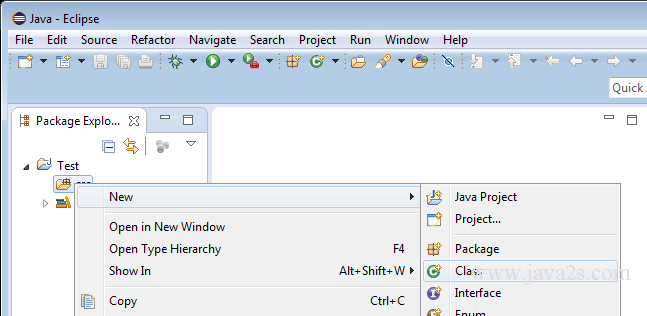
New Java Class
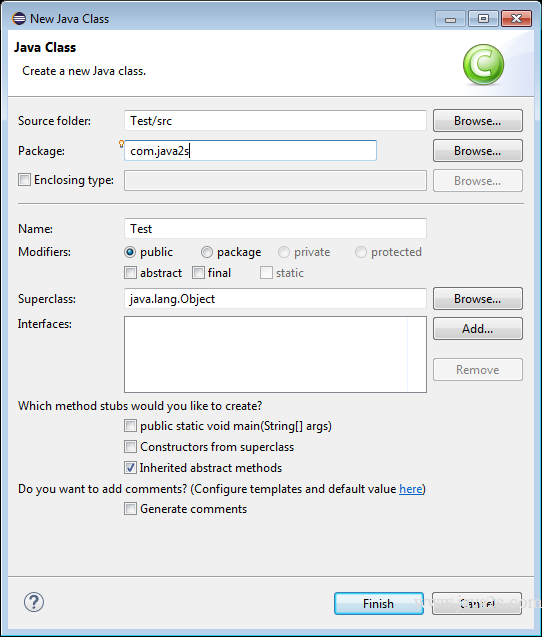
New Class Dialog
Editor new Class
