Select a cell or a range.
Click the Home tab.
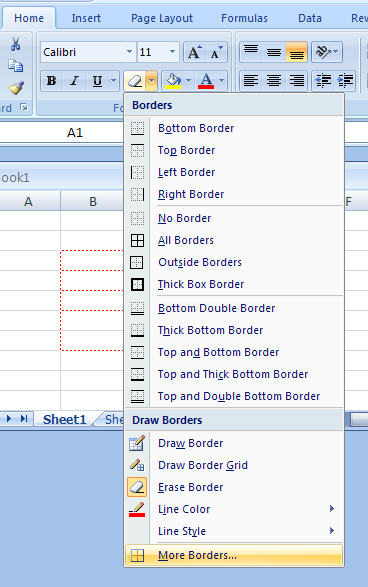
Click the Borders button arrow and then click More Borders.
The Format Cells dialog box opens, select the Border tab.
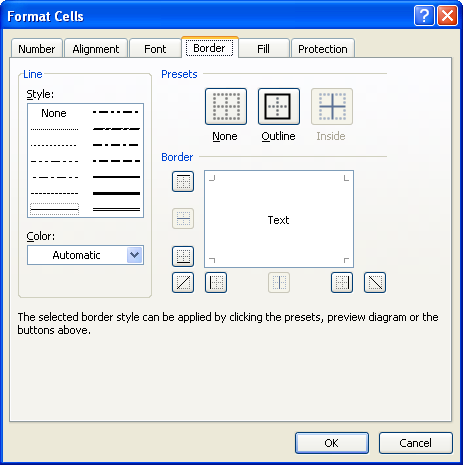
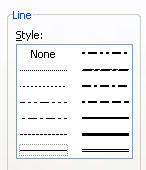
Select a line style.
           Click the Color list and then click a color for the border.
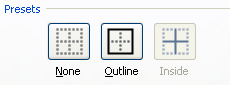
If you want a border on the outside of a cell or range,
           click Outline.
           If you want a border between cells, click Inside.
           If you want to remove a border, click None.
To set a custom border,
           click a Border button or click the Preview Border box.
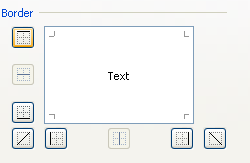
Use these buttons to create a diagonal border.
           Click OK.

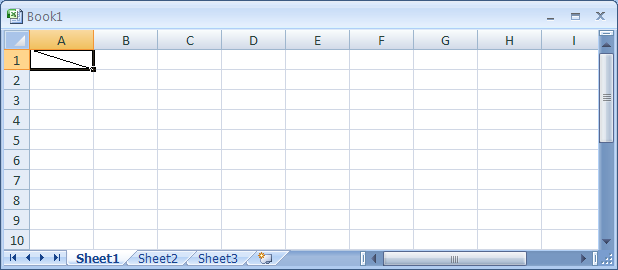
Check the result.