Assign a Macro to a Toolbar : Macro « Controls ActiveX Macro « Microsoft Office Word 2007 Tutorial


| 8.3.Macro | ||||
| 8.3.1. | Record a Macro | |||
| 8.3.2. | Create a Macro | |||
| 8.3.3. | Run a Macro | |||
| 8.3.4. | Delete a Macro | |||
| 8.3.5. | Stop a macro | |||
| 8.3.6. | Debug a Macro Using Step Mode | |||
| 8.3.7. | Edit a Macro | |||
| 8.3.8. | Sign a Macro Project | |||
| 8.3.9. | Create a self-signing certificate for a macro project | |||
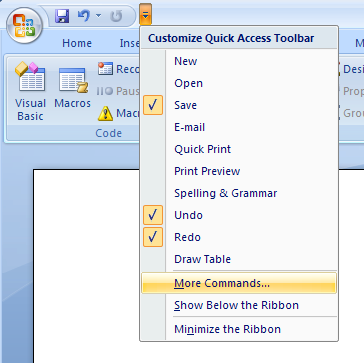
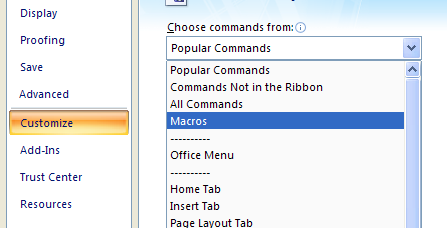
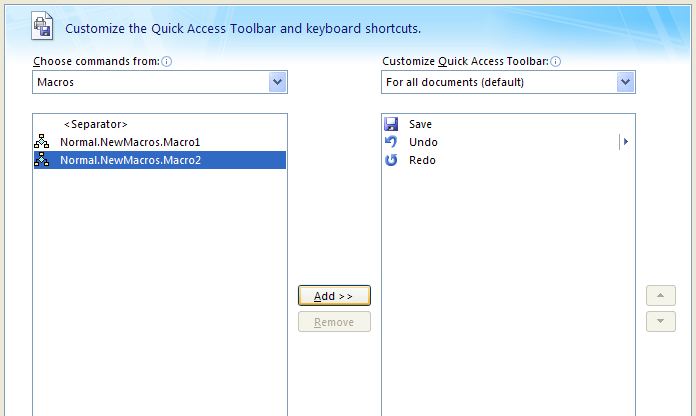
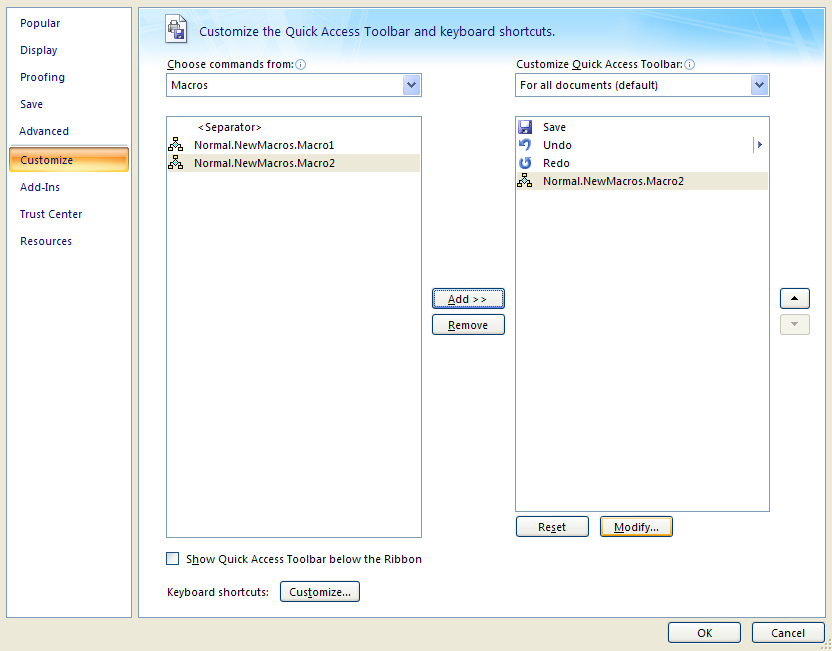
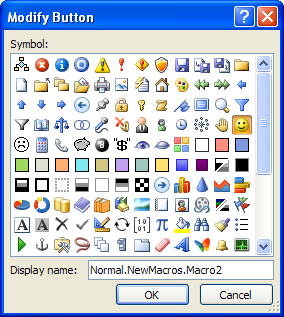
| 8.3.10. | Assign a Macro to a Toolbar | |||
| 8.3.11. | Save a Document with Macros | |||
| 8.3.12. | Open a Document with Macros | |||